Food&Drink Writer Elsie Brown shows us how to dazzle any guests with her mouth-watering bao bun recipe

This recipe is surprisingly easy and absolutely delicious. The bao buns, adapted from a recipe by Izy Hossack, are so moreish – after making them once, you’ll want them all the time. I have provided two different tasty fillings, one which is vegan and one for meat-eaters. This recipe takes some time but is perfect for when you fancy spending an afternoon cooking and want to impress your friends on Instagram!
Ingredients for the bao buns (makes 20 buns)
- 420g plain white flour, plus a little extra for kneading
- 7g (one small sachet) instant yeast
- 1 tbsp granulated sugar
- 1 tsp salt
- 250ml warm water
- 2 tbsp vegetable oil, plus a little extra for the bowl and brushing
- 1 tsp baking powder
Method
Place the flour, yeast, sugar and salt in a large bowl and stir together to combine.
Add the warm water and vegetable oil to the bowl and stir together to form a rough dough.
Lightly dust a surface with some flour and then tip the dough out and knead for 10 minutes. The dough will be slightly sticky and soft but should be stretchy and smooth.
Use kitchen roll to wipe a little vegetable oil around the inside of a large bowl. Place the dough in the bowl and turn to coat with oil. Cover the bowl with a tea towel and place somewhere warm for one hour to rise until doubled in size. I left mine in my oven, turned off, with a tray of boiling water on the rack beneath it.
Once the dough has proofed, lightly dust a surface with flour again, then divide and shape the dough into 20 equal little balls.
Line a large tray with baking parchment. Take each ball of dough and roll it out into an oval shape of about 9cm x 12cm. Lightly brush the surface of each oval with a little vegetable oil and then fold in half so they resemble little bao buns. Place onto the baking tray and repeat until all 20 are done. Don’t worry if it looks smaller than it should be, they should balloon when they’re steamed.
Set the tray aside for at least 20 mins to rise again. They shouldn’t be much bigger at this point but should look a bit puffy.
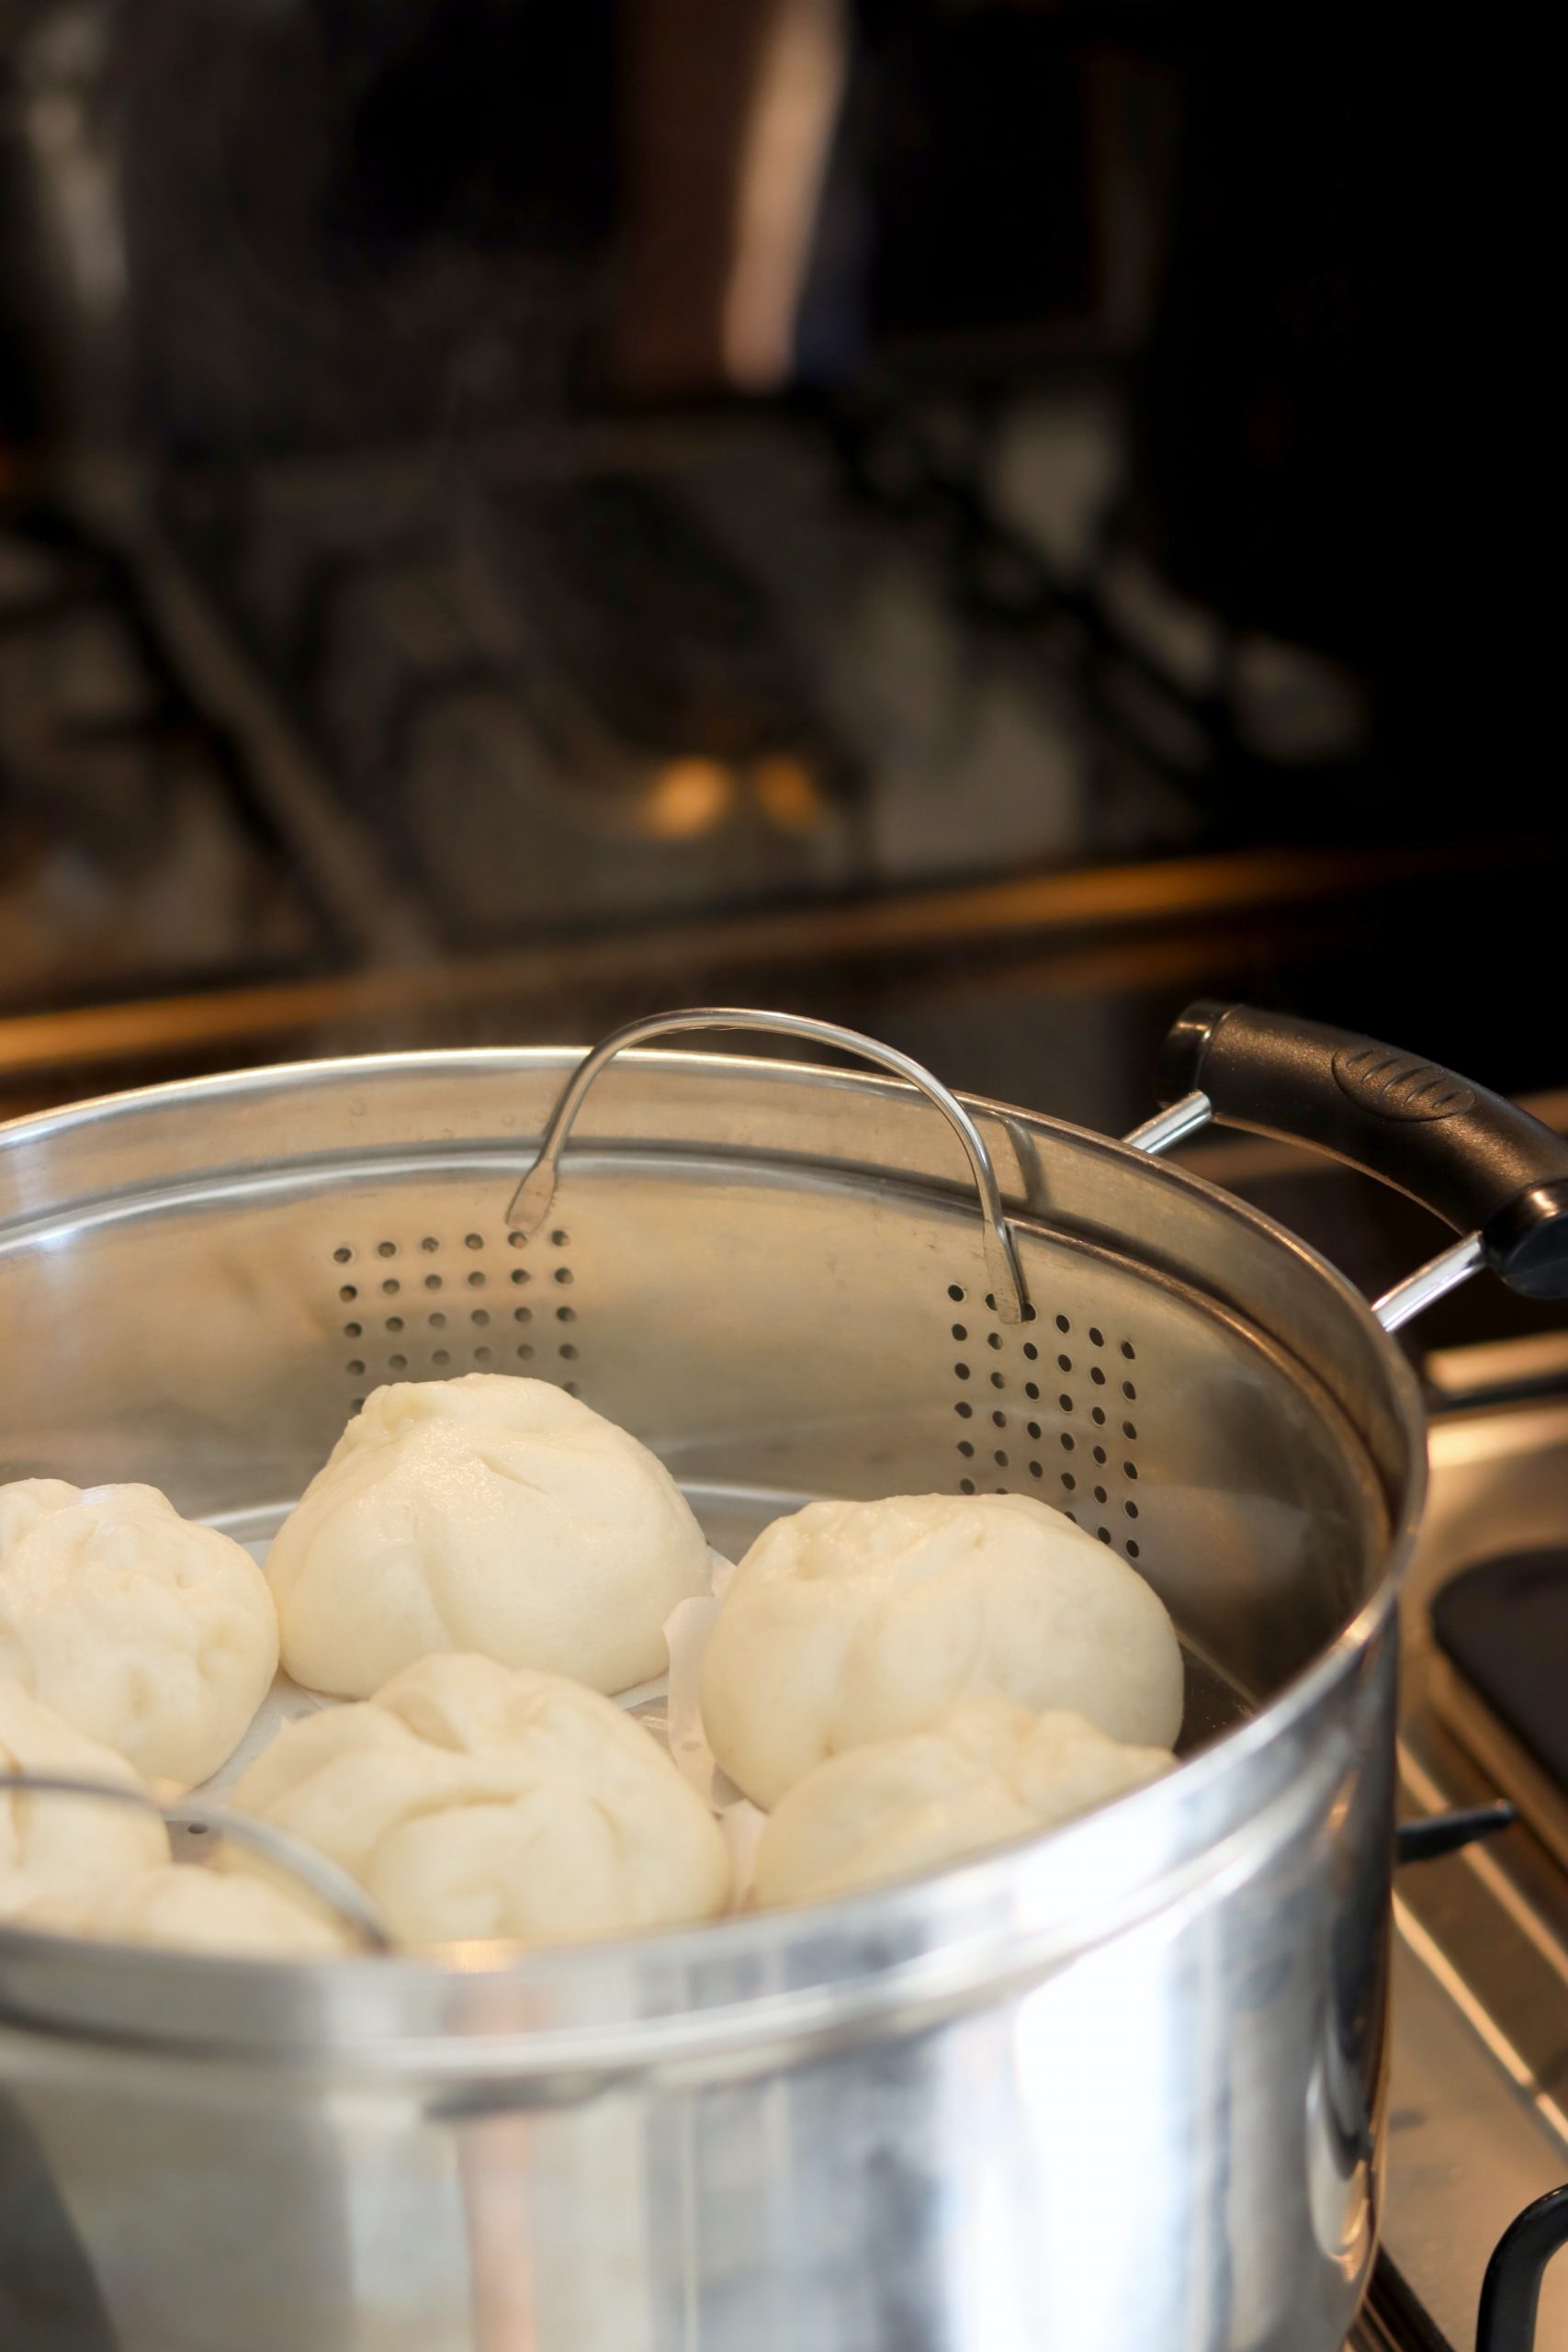
Steaming time! Don’t worry if you don’t have a traditional bamboo steamer, I used a metal steamer lined with baking parchment and it worked just as well. Fill a saucepan 1/3 with water and bring to a boil. Turn down the heat so the water is simmering and place your chosen steamer on the pan.
Gently place a couple of buns into the steamer, leaving plenty of space between the buns so that they have lots of room to rise. Cover with a lid and leave to steam for 6 minutes.
Use a flat spatula to remove the buns from the steamer. Eat them warm! If they get cold, you can steam them again for 2 mins. If you get too full and can’t eat all the buns, you can leave the remaining un-steamed buns in the fridge. You can also steam them all, allow to cool and then freeze for up to 3 months. To reheat them, simply steam the buns from frozen for 5-8mins until piping hot inside.
Filling: Gua Bao (Sticky Pork Belly)
This filling is so scrumptious that I could happily eat a whole bowl of it by itself! This recipe was adapted from a recipe by Nicky Corbishley and makes enough to fill approximately 10 buns.
Ingredients
Slow-cooked pork belly:
- 500g rindless pork belly slices
- 1 litre hot chicken/vegetable stock
- 1 tbsp minced ginger
- 3 cloves of garlic, peeled and chopped in half
- 1 tbsp rice wine
- 1 tbsp caster sugar
Glaze:
- 2 tbsp vegetable oil
- 1 pinch of salt and pepper
- 1 tbsp minced ginger
- 1 red chilli, finely chopped
- 2 tbsp honey
- 2 tbsp brown sugar
- 3 tbsp dark soy sauce
- 1 tsp lemon grass paste (don’t worry if you don’t have this ingredient)
Garnish: sprinkling of sesame seeds and finely chopped spring onions
Method
Add all the slow-cooked pork belly ingredients into a saucepan and bring to a boil. Then turn down the heat to medium-low, place a lid on and leave to simmer for 2 hours. Turn off the heat and drain the pork belly. You can keep the broth, if you like, in the fridge for up to 3 days – it’s the perfect soup base for ramen!
Slice the pork belly into bite-sized pieces. Meanwhile, mix all of the ingredients for the glaze in a small bowl.
Heat 1 tbsp of vegetable oil on a high heat in a frying pan. Add in the pork belly and season generously with salt and pepper. Fry until the pork starts to turn golden.
Pour the glaze over the pork and continue to cook until the pork looks dark and sticky, stirring frequently.
Turn off the heat and transfer the pork to a bowl. Garnish with spring onions and sesame seeds. Enjoy!
Filling: Roasted Aubergine with Satay Sauce
This filling is a delightful vegan alternative to enjoy in the bao buns. This recipe makes enough to fill approximately 10 buns.
Ingredients
- 2 large aubergines
- 3 tbsp smooth peanut butter
- ½ lime, juiced
- 1 tsp honey
- 1 tbsp dark soy sauce
- 1 tbsp curry powder
- 165ml canned coconut milk
- 1 small red chilli, finely chopped
Method
Preheat the oven to 200°C/180°C (fan).
Cut the aubergines in half lengthways and gently score the surfaces of the flesh in a cross-hatch pattern. Place on a tray, drizzle with olive oil and season generously with salt. Roast for 30-40 mins, until very soft.
Mix all of the remaining ingredients in a small bowl. Add a little water if it seems too thick.
Slice the aubergine, not too finely or they’ll fall apart but small enough so that a few pieces will fit into the bao buns.
Heat 1tbsp of vegetable oil in a frying pan on a medium heat and then add the aubergine. Fry for 1 min and then add about half of the satay sauce. Stir so all of the aubergine is coated evenly in the sauce.
Fry for about 5 mins or until the sauce is thick. Transfer into a bowl and serve! You can use the remainder of the satay sauce for dipping the buns in or save it for another recipe.
Like this? See below for more recipes:
Comments